
Last updated October 16, 2026
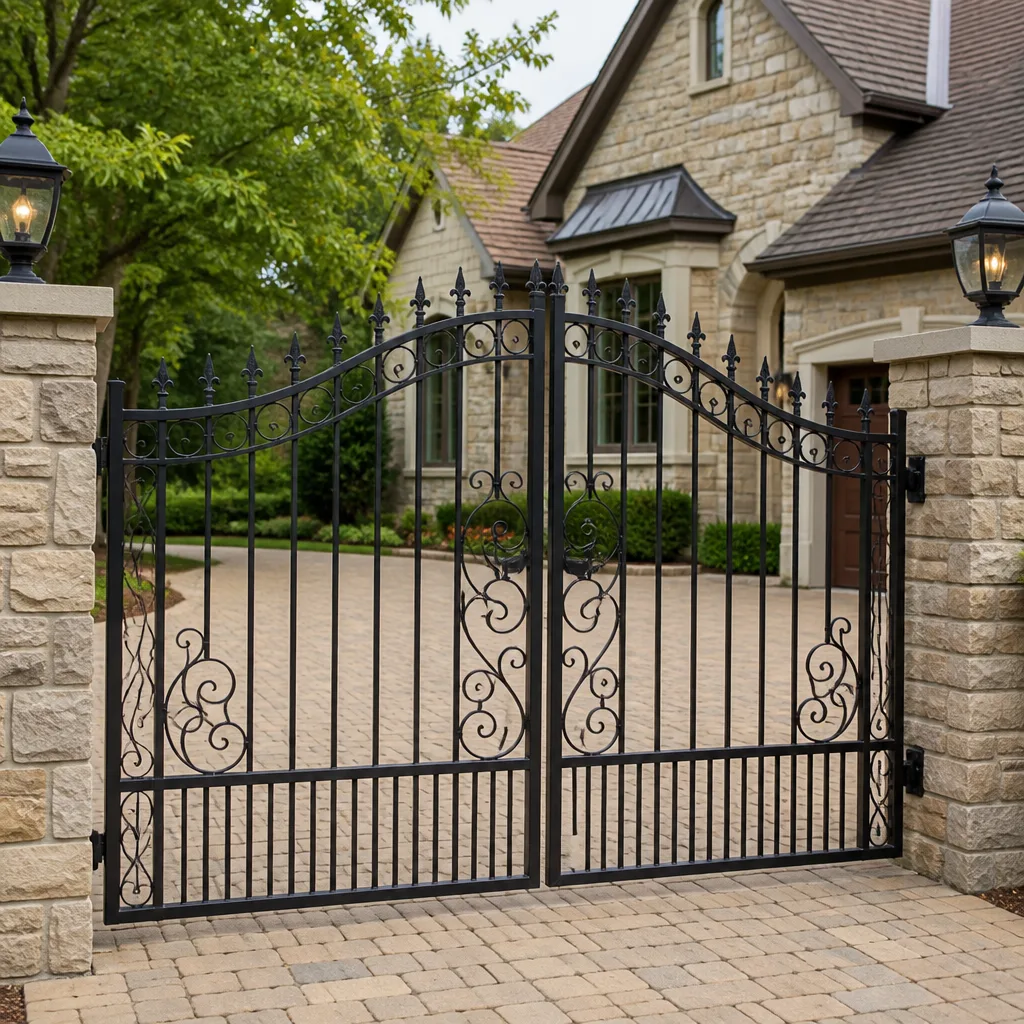 Wrought iron
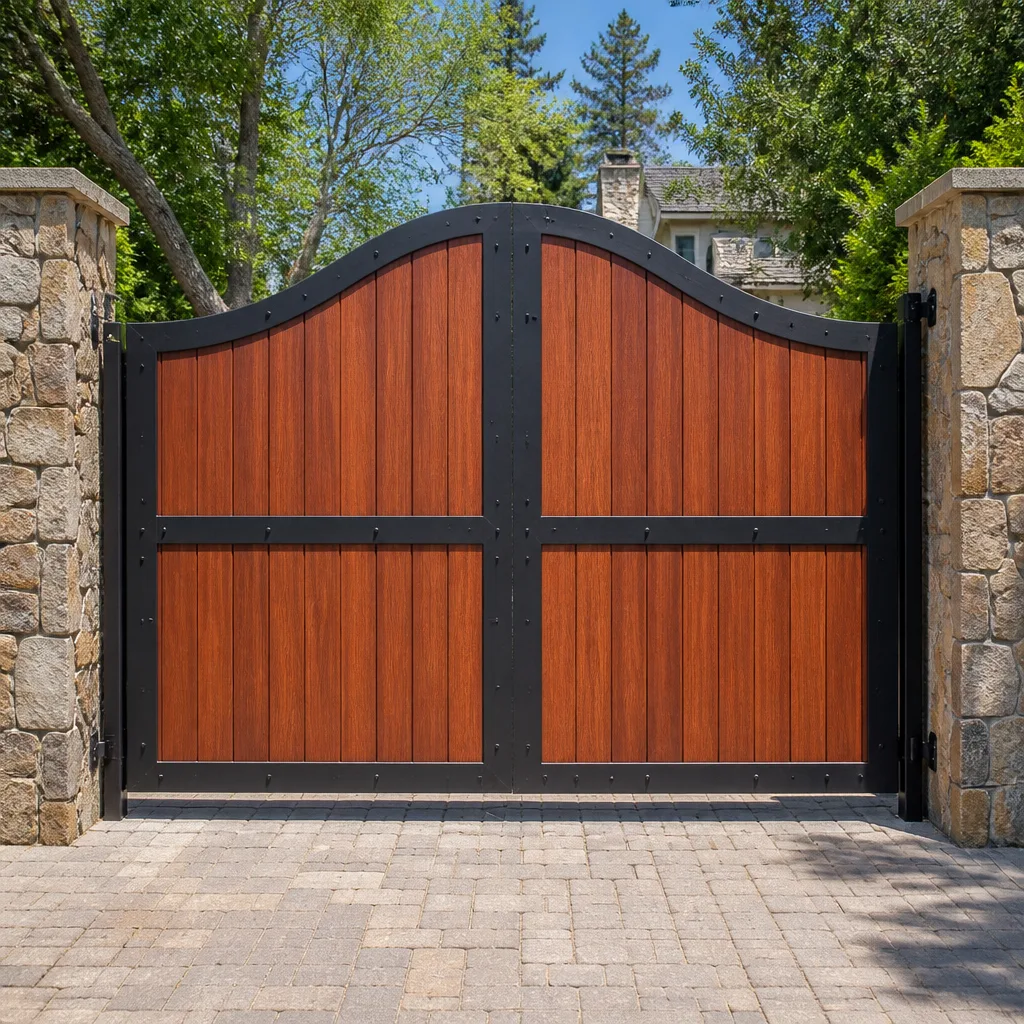 Wood & steel frame
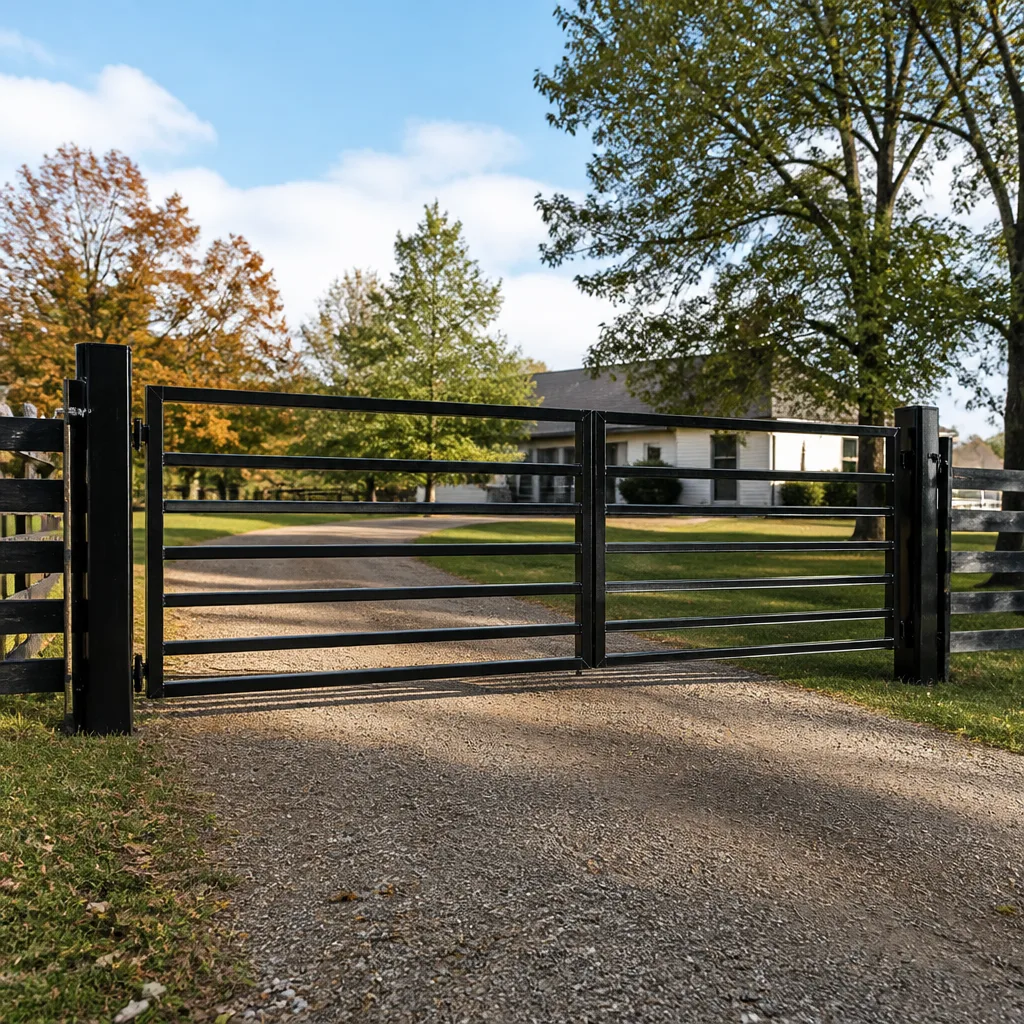 Farm & ranch
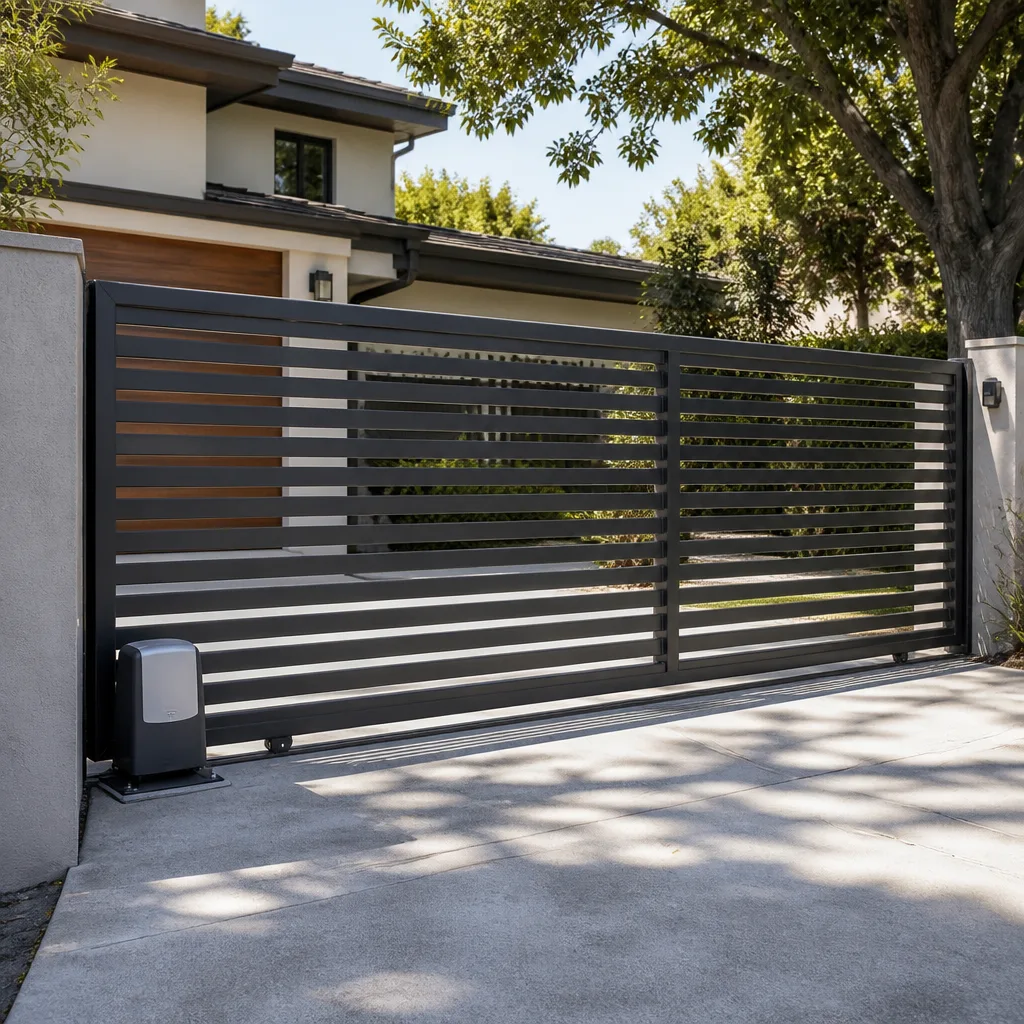 Sliding driveway gates
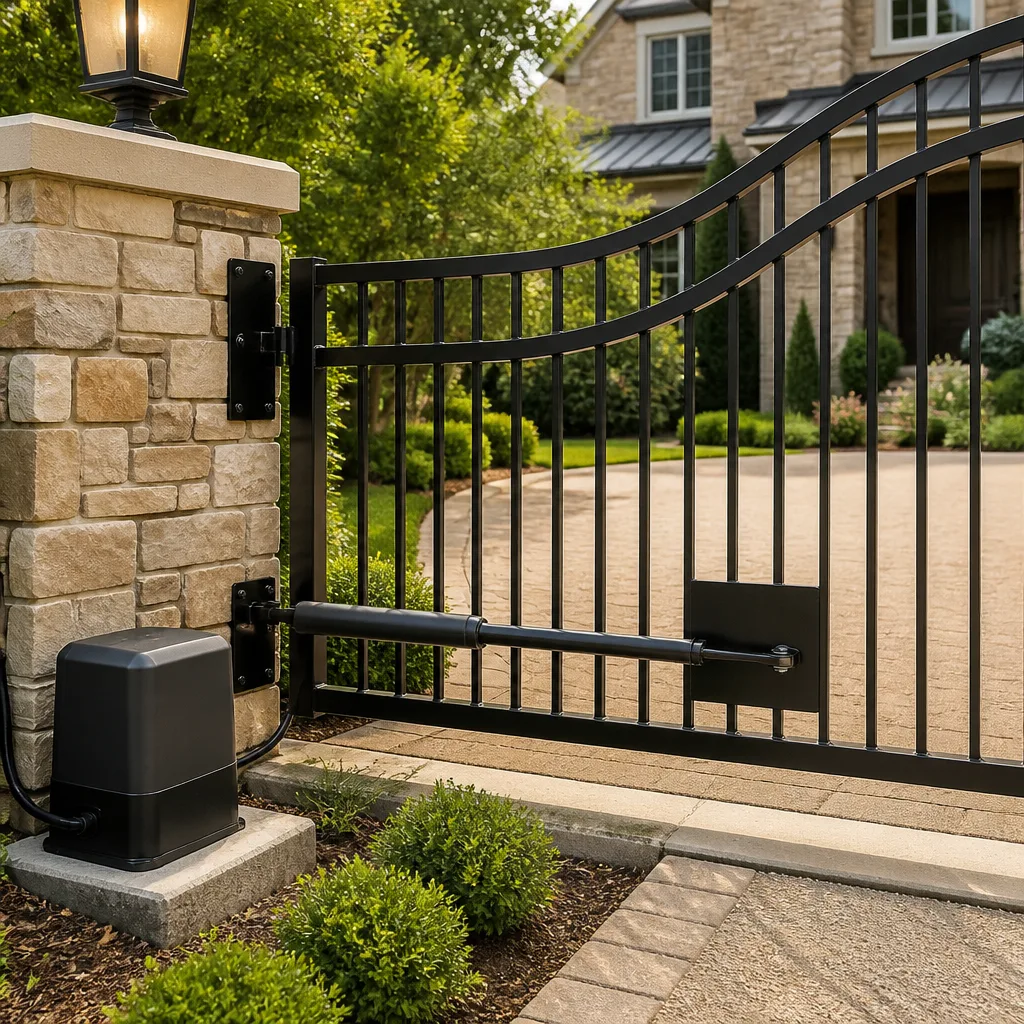 LiftMaster operators
Free on-site gate assessment - hinges, posts, and your LiftMaster or Nice gate operator checked before anything is quoted
The assessment is free and the quote is the invoice.
Get your free estimateDIY vs Professional Gate Repair: The Houston Homeowner’s Decision Guide
The most expensive gate repair outcome in Houston isn’t hiring a professional. It’s a homeowner correctly replacing a failed part in the wrong system layer, then calling a technician anyway when the gate still won’t move, and paying for both. This guide gives you a diagnostic framework built on how gates actually fail in Houston, not a pep talk about saving money. You’ll learn which repairs fall inside homeowner scope, which ones carry safety or warranty consequences, and how Houston’s climate changes the math. We’ve seen hundreds of driveways in this city, and the pattern is consistent: identifying the failure layer first is what separates a $40 fix from a $1,400 mistake.
Quick Answer
Most DIY gate repair in Houston is safe and sensible when the problem lives in the mechanical layer: photo-eye cleaning, battery replacement, manual release operation, and basic limit switch adjustment on select brands. Professional Gate Repair services become necessary when the failure involves 120V wiring, control board programming, or post re-setting in Houston’s clay soil. The deciding factor isn’t confidence or mechanical skill. It’s correctly identifying which of the four gate system layers is actually failing, because fixing the wrong layer is the most common and most expensive DIY mistake we see.
Styles & brands we work with
Table of Contents
- The Four-Layer Diagnostic Model: How to Read Your Gate’s Failure
- Homeowner Scope: Four Repairs That Are Genuinely DIY
- Professional Scope: Where DIY Stops, and Why It’s Not About Skill
- Houston’s Summer Heat Changes the DIY Calculus
- What DIY Saves vs What It Costs: A Houston Price Comparison
- What to Document Before a Technician Arrives
- Common Mistakes to Avoid
- When to Call a Professional
The Four-Layer Diagnostic Model: How to Read Your Gate’s Failure
Every automatic gate in Houston, whether it swings or slides, operates across four distinct layers. When something goes wrong, the symptom you see at the driveway doesn’t always point to the layer that failed. A gate that stops mid-travel could be a structural problem (post settlement), a mechanical problem (worn drive chain), an electrical problem (failed capacitor), or a control logic problem (limit switch drift). Houston homeowners who skip this diagnostic step end up replacing parts that were never broken. Here’s how to read each layer before touching any hardware.
Layer 1: Structural
The structural layer is everything that holds the gate in place: the hinge posts, the gate frame, the concrete footings, and the soil beneath them. In Houston, this layer fails more than most homeowners expect because of what’s under our feet. The city sits on a patchwork of clay-heavy soils, particularly in neighborhoods like Katy, Cypress, and parts of Sugar Land. Clay expands when wet and contracts in drought. A gate post that was plumb last spring can drift a half-inch by August. That half-inch binds the hinge, which strains the motor, which trips the overload sensor. The homeowner sees a gate that “won’t open” and assumes motor failure. The actual failure is structural.
What to check: open the gate manually using the release mechanism. If it swings or slides freely by hand, the structure is likely fine. If it binds, drags, or needs shoulder pressure at any point in the travel, you’re looking at a structural or mechanical issue, not an electrical one.
Layer 2: Mechanical
The mechanical layer is the moving hardware: hinges, rollers, chains, belts, articulating arms, drive gears, and track wheels. This layer wears predictably. Slide gates in Houston pick up grit from our sandy loam and gravel driveways, which accelerates roller wear. Swing gates carry their full weight on the hinge pins every time the wind pushes against the gate face, which happens more than you’d think during spring storm season. Mechanical failures announce themselves with noise: grinding, squealing, clunking. A quiet gate that suddenly stops is more likely electrical or control logic. A gate that gets progressively louder over three weeks is mechanical.
What to check: listen during operation. Watch the gate’s movement at the hinge or roller points. If hardware looks dry, rusted, or loose, you’ve found the mechanical layer. Lubrication and fastener tightening are legitimate DIY work here. Bent or cracked hardware is replacement work, and on heavy gates, that’s where a second set of hands and a proper jack matter.
Layer 3: Electrical
The electrical layer covers everything that carries power: the operator’s internal wiring, the 120V supply line, the capacitor, the transformer, and any low-voltage runs to photo-eyes or keypads. This is the layer where DIY stops for most homeowners, and for good reason. A gate operator contains capacitors that hold a charge even after the unit is unplugged. The supply line from your house to the operator is 120V AC. Touching the wrong terminal inside a Live electrical panel enclosure, even on a “dead” unit, can deliver a shock that sends you to the ER. This isn’t about skill; it’s about the fact that gate operators are not designed for homeowner disassembly the way a sprinkler valve is.
What to check: confirm the operator has power. Check the breaker. Check for a tripped GFCI on the outlet the operator plugs into if it’s a plug-in model. If power is confirmed and the gate still doesn’t respond, you’re likely at the electrical layer or the control logic layer. Both are professional territory on most systems.
Layer 4: Control Logic
The control logic layer is the brain: the circuit board, the limit switches, the loop detector, the receiver for your remote, and the programming that ties them together. This layer fails differently than the others. It fails intermittently. A gate that works perfectly for three days, then refuses to open, then works again, is almost certainly a control logic problem. The board isn’t “mostly dead.” It’s misbehaving under specific conditions: heat, humidity, voltage fluctuation, or signal interference. Houston’s afternoon thunderstorms and 95°F garage interiors are hard on circuit boards. We see more control board replacements in July and August than any other month of the year.
What to check: if the gate responds to the manual release but not the remote or keypad, the issue is in control logic or the receiver. If the gate opens but doesn’t close, or closes but reverses immediately, you’re looking at limit switch adjustment or photo-eye misalignment. Some limit switch adjustments on DoorKing and Linear operators are documented in the manual and considered DIY-accessible. Board-level diagnosis and programming on networked systems, like a Viking operator tied to an access control panel, is professional work.
Homeowner Scope: Four Repairs That Are Genuinely DIY
Once you know which layer has failed, the question of DIY versus professional gets much clearer. These four repairs sit squarely in the homeowner scope for most Houston properties. None of them require opening the operator’s electrical cabinet. None of them involve 120V wiring. All of them are documented in owner’s manuals and can be completed with basic tools in under an hour.
1. Photo-Eye Cleaning and Realignment
Houston humidity breeds a film of dust and pollen on photo-eye lenses faster than drier climates. The photo-eyes are the two small sensors mounted near the ground on either side of the gate opening. When they get dirty or knocked out of alignment by a mower or a kid’s bike, the gate refuses to close or reverses halfway. Cleaning them is simple: wipe the lens with a dry cloth, check that the small indicator light on each eye is lit, and adjust the bracket so both eyes point directly at each other. This single fix resolves more “my gate won’t close” calls than any other issue we see in Houston.
2. Battery Replacement
Most slide and swing gate operators run on a 12V or 24V battery system, with a trickle charger keeping the battery topped up. Those batteries last three to five years in Houston’s heat, sometimes less if the operator sits in direct afternoon sun. A gate that works fine when the power is on but fails during an outage, or a gate that’s slow and sluggish, often points to a dying battery. Replacing the battery is a 15-minute job on most Linear and Ghost Controls units: unplug the operator, remove the battery cover, swap the battery for the same voltage and amp-hour rating, reconnect. The manual shows the correct orientation. This is about as straightforward as replacing a car battery, with the same safety caveat: disconnect power first.
3. Manual Release Operation
Every automatic gate has a manual release mechanism, usually a lever or keyed cylinder near the operator. When the power is out or the operator has failed, the manual release lets you swing or slide the gate by hand so you can still get your car in and out. Many Houston homeowners don’t know this mechanism exists until the first time the gate dies. Learning to operate it is not a repair; it’s an essential homeowner skill. If you don’t know where your manual release is, find it this weekend. In an emergency, that knowledge is the difference between getting to work and waiting on a service call.
4. Basic Limit Switch Adjustment on Select Brands
A limit switch tells the operator where to stop. When a limit drifts out of adjustment, the gate opens too far, slams at the end of travel, or stops short. On some brands, including select DoorKing and Linear models, adjusting the limit is a matter of turning a small screw or dial on the outside of the operator. The owner’s manual includes the procedure. If your manual shows a limit adjustment that doesn’t require opening the operator’s electrical cabinet, and you’re comfortable reading the manual carefully, this is DIY-appropriate. If the limit adjustment requires removing the control board cover, stop. That’s no longer homeowner scope. The line isn’t the screw itself; it’s the cabinet.
Professional Scope: Where DIY Stops, and Why It’s Not About Skill
Some homeowners read the section above and think, “I can handle anything if I just take my time.” That’s the wrong frame. The DIY-versus-professional line isn’t drawn at capability. It’s drawn at safety consequence, warranty consequence, and the cost of getting it wrong twice. Here are the repairs we classify as professional scope for Houston homeowners, and the specific reasons why.
Anything Touching 120V Wiring
The operator’s power supply is 120V AC. The circuit that feeds your gate operator runs from your breaker panel, through conduit, into the operator. If the problem is upstream of the operator, if the breaker trips immediately, if you smell burning, or if the operator is dead with no power at the outlet, you’re in 120V territory. Working on that circuit is not a DIY task. It’s not about whether you can figure it out. It’s about the fact that a mistake doesn’t damage the gate; it damages you. A licensed technician carries the right testing equipment and knows how to work safely on a live panel. If the failure is between the breaker and the operator, call a professional. The gate motor repair process starts with confirming clean power at the operator, and that’s where the diagnosis should stay for anyone not trained in electrical work.
Control Board Programming on Networked Systems
A standalone residential gate operator with a single keypad and two remotes is one thing. A gate system tied into an access control panel, a telephone entry system, a camera, or a community-level network is a different animal. Viking and DoorKing both make operators designed for these networked configurations. When a control board on a networked system fails or loses its programming, the repair isn’t just replacing a board. It’s restoring the programming, re-syncing the accessories, and testing the integration. Get the programming wrong and the gate might work but leave the community’s access log corrupted or the fire department’s override disabled. That’s a professional repair, not because the homeowner isn’t smart enough, but because the system has more stakeholders than one driveway.
Post Re-Setting in Clay Soil
This is the failure that catches Houston homeowners off guard. Your gate post has shifted. The gate drags. Your instinct says, “I’ll dig it out, re-set it, pour new concrete.” Here’s the problem: Houston’s clay soil doesn’t hold posts the way compacted sandy soil does. A post set in clay without proper depth, proper concrete mix, and proper drainage will shift again within two seasons. Re-setting a heavy swing gate post is a two-person job that requires bracing the gate, removing it from the hinges, excavating to the right depth, setting the post, and allowing proper cure time before re-hanging. Get the plumb wrong by a quarter-inch and you’ve introduced a new bind point. This is a professional scope repair because the consequence of a slightly wrong re-set is a gate that fails again, often worse than before.
Spring Replacement on Counterbalance Systems
Some Houston swing gates use heavy counterbalance springs to ease the load on the opener. These springs are under enormous tension. When one fails, the gate becomes dramatically heavier and the operator strains against it. Replacing a gate spring is not like replacing a screen door spring. The tension involved can launch a tool or a hand. This is the gate equivalent of a garage door spring: acknowledge the danger, don’t touch it. Our gate repair in Houston work includes spring replacement with the right tooling and the gate properly supported throughout.
Houston’s Summer Heat Changes the DIY Calculus
There’s a reason this guide is written for Houston specifically, not for gate repair generally. Our climate changes the DIY math in ways that generic advice ignores. If you’re planning a driveway repair session this July, here’s what the heat does to your project.
Heat-Related Misdiagnosis Is Real
When you’re troubleshooting a gate operator in 98°F direct sun, with the concrete radiating heat back at you, two things happen. First, your patience shortens. You start skipping steps you’d otherwise follow. You test one hypothesis instead of three. Second, the heat itself creates symptoms that mimic other failures. A control board that works fine at 85°F can glitch at 105°F. The capacitor inside the operator can underperform in extreme heat. A homeowner working in that heat might correctly identify a board problem, or might misread a heat-induced glitch as a permanent board failure and spend $300 replacing a board that would have been fine after sunset. We’ve seen it more times than we can count. The fix: do your diagnostic work in the morning, before 10 a.m., when the equipment is cool and you have energy. If the gate only misbehaves in afternoon heat, document that. It’s useful information for whoever repairs it.
Direct-Sun Operators Age Faster
Gates on west-facing exposures in Houston take a beating. The operator housing bakes through the afternoon. Internal temperatures can exceed 130°F. That heat accelerates capacitor aging, degrades plastic gears, and shortens battery life. A homeowner replacing a battery on a sun-baked operator is treating a symptom. The underlying issue, heat degradation, will return. This doesn’t mean the battery replacement is wasted; it means you should also consider whether a shade structure or an insulated operator cover is the longer-term fix. A professional can tell you whether your operator’s location is a chronic failure point.
Safety Concerns Beyond the Gate
Ignoring the gate for a moment: working outside in Houston summer heat for more than an hour carries real risk. Heat exhaustion comes on gradually, and by the time you notice it, your judgment is already impaired. The last thing you want is impaired judgment while handling gate hardware or, worse, electrical components. If a repair is going to take more than an hour, and the forecast is above 95°F, that’s a reasonable time to hire it out. Not because the repair is hard. Because the working conditions are hostile, and good decision-making is the whole game.
What DIY Saves vs What It Costs: A Houston Price Comparison
Money is the reason most homeowners consider DIY. For a detailed look at what to expect, see our Gate Repair Cost Breakdown: The Houston Homeowner’s Reference for 2026, then weigh the decision honestly. These are typical ranges we see across the metro area, from the Heights to Pearland to The Woodlands.
| Repair Task | Typical DIY Parts Cost (Houston) | Typical Professional Cost (Houston) | DIY Risk Factor |
|---|---|---|---|
| Photo-eye cleaning | $0 to $15 (cloth, cleaning solution) | $85 to $150 service call | Minimal |
| Battery replacement | $40 to $120 (battery only) | $150 to $250 installed | Low, if power is disconnected |
| Limit switch adjustment | $0 (manual and screwdriver) | $95 to $175 service call | Low on select brands |
| Post re-setting (single post) | $60 to $150 (concrete, materials) | $400 to $1,200 | High, due to clay soil shift |
| Control board replacement | $200 to $500 (board only) | $450 to $900 installed and programmed | Very high, if programming is wrong |
| Full operator replacement | $700 to $1,500 (unit only) | $1,800 to $4,500 installed | Very high, 120V and warranty |
At Carver Gate Repair Houston, every repair quote is a written price delivered before any work starts. You’ll know the number before a tool leaves the truck. That matters because the comparison above only works when the professional number is the real number. A written price is the only kind that doesn’t move at the door. Call (361) 320-7104 for a free estimate on any repair you don’t want to attempt yourself.
What to Document Before a Technician Arrives
If your diagnostic work points toward the electrical or control logic layer, you’re going to call a professional. Here’s what to document before that call. The information you gather in 10 minutes of observation can cut a service visit’s diagnostic time in half, which keeps the visit billable for repair rather than investigation. It’s the single highest-leverage thing a Houston homeowner can do to control cost.
- Take a photo of the operator’s label. The label shows the brand, model number, and often the date of manufacture. If you have a Linear, Viking, Ghost Controls, or DoorKing unit, the model number tells the technician exactly what they’re working with before they arrive. That means the right parts come on the truck.
- Video the gate’s behavior. A 15-second clip of the gate misbehaving is worth more than a verbal description. Capture what the gate does when it fails: does it start and stop? Reverse? Not respond at all? The video shows the symptom pattern.
- Note the conditions. What time of day does the failure happen? What’s the weather? Does it fail more in afternoon heat, after rain, only when a specific remote is used? Condition-specific failures are control logic clues.
- Check the manual release. Open the gate manually using the release. Does it move freely? This single observation separates structural/mechanical problems from electrical/control problems, and it saves real diagnostic time.
- Gather the paperwork. If you have the original installation paperwork, the owner’s manual, or a record of previous repairs, have it ready. Previous repair history is diagnostic gold.
One more note on documentation: if you’ve already attempted a repair, say so when you call. Tell the technician what you replaced and what you observed after. That honesty doesn’t embarrass you; it saves you money. The technician’s diagnosis starts where your work ended.
Common Mistakes to Avoid
- Replacing the battery before checking the breaker. A dead gate is often a tripped breaker or GFCI, not a dead battery. Check power at the source first. In Houston, a storm-related surge can trip a breaker even when nothing appears wrong.
- Lubricating a gate that’s binding. Lubricant masks binding; it doesn’t fix it. If the gate drags, lubrication might quiet the symptom for a week, then the real problem, a shifted post or worn roller, gets worse. Find the bind point before you lubricate anything.
- Adjusting limit switches on a gate that’s out of level. If the post has shifted and the gate has sunk a half-inch, adjusting the limit to compensate is treating the symptom at the wrong layer. The gate will bind again. Fix the structure first.
- Opening the operator cabinet without disconnecting power. Even with the breaker off, capacitors inside the operator can hold a charge. Disconnect power at the breaker and wait several minutes before opening anything electrical. Better yet, don’t open it at all.
- Buying a generic control board because it “looks like” the original. Control boards are model-specific. Installing the wrong board can damage other components or simply not work, and you’ve spent $300 on a paperweight. Match the exact model number or let the technician pick the part.
- Ignoring a gate that works “most of the time.” Intermittent failures are the early warning of a bigger problem. A gate that fails once a week is a gate that will fail permanently soon. In Houston, that failure tends to happen during a storm or on a holiday weekend. Fix it before it becomes an emergency.
- Pouring concrete in wet clay without drainage. If you’re set on re-setting a post yourself, understand that Houston’s clay soil expands when wet. A post hole without drainage gravel will hold water and shift again. This is one of those projects where watching a YouTube video from Arizona doesn’t prepare you for Cypress soil.
When to Call a Professional
Call a professional when the diagnostic work points to the electrical or control logic layer, when the gate’s post has shifted, when a spring is involved, or when you’ve spent more than an hour without a clear answer. None of those conditions are about your capability. They’re about the fact that the cost of a wrong fix in those layers is higher than the professional repair would have been. A gate that doesn’t open isn’t just an inconvenience when you can’t get your car to work, or when an ambulance can’t reach the house. Carver Gate Repair Houston offers free estimates across the Houston metro area. You’ll get a written price before any work begins, and every repair carries our 365-Day Done Right Promise in writing. Call (361) 320-7104 and a live person will answer, any hour, any day.
See the difference
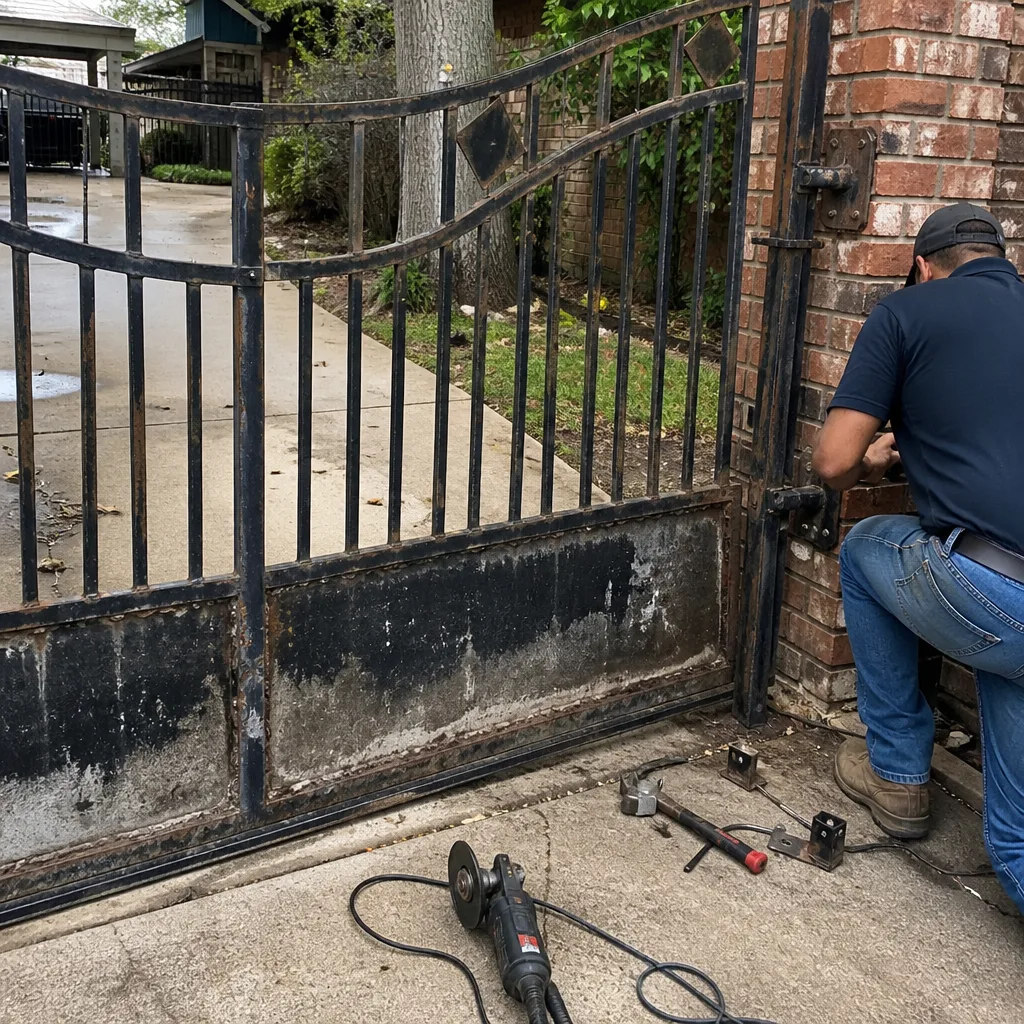 Before
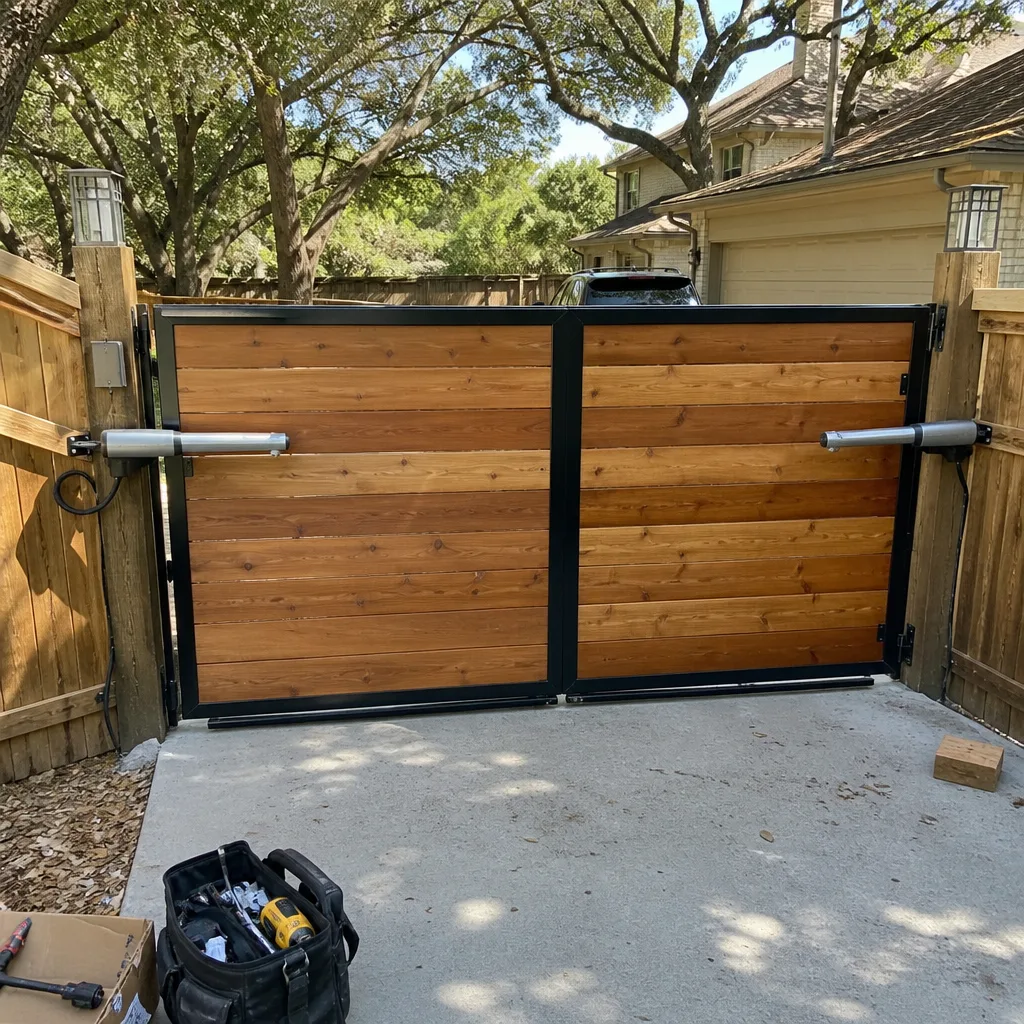 After
After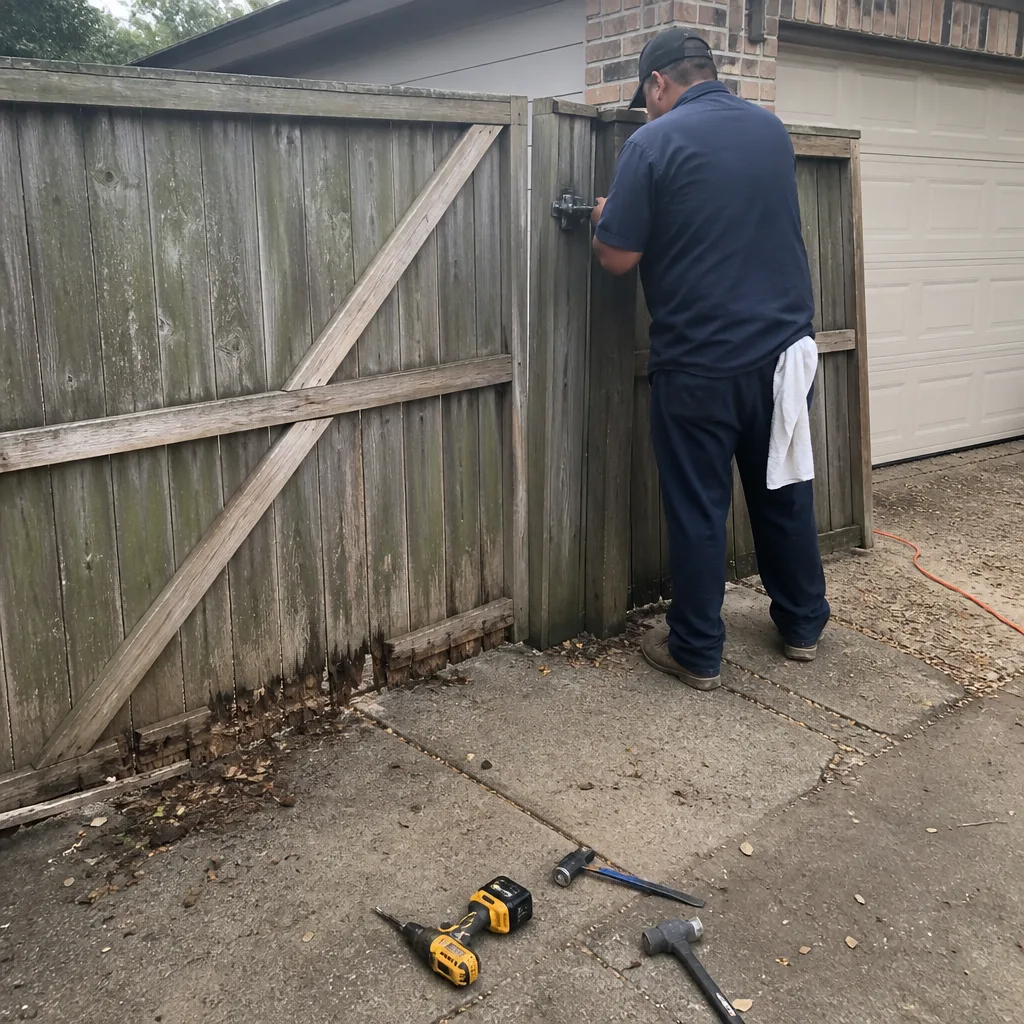 Before
 After
After Before
 After
AfterFrequently Asked Questions
Gate repair in Houston typically ranges from $85 to $1,200, depending on the layer that failed. Simple mechanical fixes like photo-eye cleaning run $85 to $150, while control board replacement runs $450 to $900 installed. A full operator replacement runs $1,800 to $4,500. At Carver Gate Repair Houston, you’ll receive a written price before any work starts, so the number never changes at the door. Call (361) 320-7104 for a free estimate.
You can fix your electric gate yourself when the repair sits in the mechanical layer: photo-eye cleaning, battery replacement, manual release operation, and basic limit switch adjustment on select Linear and DoorKing models. For a complete walkthrough of seasonal upkeep, see our Gate Repair Maintenance Checklist for Houston Homeowners. If the failure involves 120V wiring, control board programming, or a shifted post, that’s professional scope. The line isn’t your skill; it’s the consequence of a mistake.
In Houston, the most common causes are photo-eye misalignment, dead operator batteries, heat-damaged control boards, and post shift from clay soil movement. The four-layer diagnostic model in this guide will help you identify which cause applies to your gate before you spend money on parts.
Gate operators in Houston typically last 7 to 12 years, but units in direct afternoon sun or west-facing exposures often fail earlier. Internal temperatures in a sun-baked operator can exceed 130°F, which accelerates capacitor and gear wear. Batteries inside operators typically last 3 to 5 years in Houston’s climate.
Our technicians are trained on LiftMaster, FAAC, BFT, Linear, Viking, Ghost Controls, DoorKing, Elite, and Mighty Mule equipment. That covers the overwhelming majority of installed operators in the Houston market. If your unit is outside that list, call (361) 320-7104 and we’ll tell you honestly whether we can help.
A full gate installation in Houston includes the gate structure, operator, safety edges or photo-eyes, power run, and programming to match your access setup. Every installation includes a written price before work starts. If you’re comparing DIY installation against professional, remember that a wrong structural install in Houston’s clay soil is the most expensive mistake a homeowner can make.
The Bottom Line
The DIY-versus-professional decision for gate repair in Houston comes down to the layer, not the effort. Mechanical layer problems: do it yourself. Electrical and control logic problems: call a professional. Structural problems in clay soil: call a professional every time. The four-layer diagnostic model in this guide gives you a way to read your gate’s failure before you spend a dollar. And if the diagnostic work points toward a pro, Carver Gate Repair Houston is ready with a written price, background-checked technicians in uniform, and a full-year guarantee in writing on every repair. Call (361) 320-7104 and you’ll talk to a live person, not a voicemail queue. Visit our Carver Gate Repair Houston home page to learn more about how we work.
Written by Lonnie Burke, Owner at Carver Gate Repair Houston, serving Houston since 2008. For more guides & resources, visit our blog.